Butterfinger candy bars have been an American classic since the 1920s, known for their uniquely crispy, flaky texture that seems to melt on the tongue. The concept of transforming candy into no-bake treats gained popularity in the mid-20th century as home cooks looked for creative ways to use leftover Halloween candy or create quick desserts for busy families. These Butterfinger balls represent a clever adaptation of that tradition, capturing the iconic candy's signature crunch in a convenient, bite-sized form that's perfect for modern snacking and entertaining.
Why You'll Love It
-
No baking required - just mix, roll, and dip
-
Perfect balance of crisp candy and creamy peanut butter
-
Great for using up leftover candy or making ahead for parties
-
Kids love helping roll the balls - makes a fun family activity
"My family begs me to make these every holiday - they're even better than the original candy bar!"
Essential Ingredient Guide
- Butterfinger candy bars: The star of the show - that signature crispy, flaky texture is what makes these special. Crush them fine enough to blend well but leave some small chunks for texture. Honestly, I find using a food processor gives you the perfect consistency.
- Creamy peanut butter: Acts as both binder and flavor component. Use the regular kind, not natural, as the oil separation can make the mixture too loose. The peanut butter should be at room temperature for easiest mixing.
- Chocolate chips: Provides the coating that makes these look polished and adds another layer of chocolate flavor. Semi-sweet works beautifully, but milk chocolate gives a sweeter result if that's your preference.
- Powdered sugar: Adds sweetness and helps firm up the mixture so it holds its shape when rolling. Sift it first to avoid lumps in your final balls.
- Vanilla extract: Just a teaspoon enhances all the other flavors and adds depth. Use real vanilla if you have it - the artificial kind can taste a bit sharp.
- Butter: Helps the mixture come together smoothly and adds richness. Softened butter blends in much easier than cold.
Complete Cooking Process
-
Ingredient Readiness:
Everything needs to be at the right temperature - room temperature peanut butter and softened butter mix so much more smoothly. The candy bars should be finely crushed but still have some texture. I remember one time I rushed this step and ended up with lumpy balls that wouldn't hold their shape.
-
Flavor Development:
The magic happens when the peanut butter, powdered sugar, and Butterfinger crumbs come together. The mixture should be stiff but pliable. Let it rest in the refrigerator for about 30 minutes - this allows the flavors to meld and makes rolling much easier.
-
Texture Control:
Rolling the balls evenly is key. If your hands get sticky, dampen them slightly with cold water. The size should be consistent - about one inch across works perfectly. They shouldn't be so large that they're messy to eat, but big enough to satisfy that sweet craving.
-
Finishing Touches:
The chocolate coating needs to be melted smoothly but not too hot. I use a double boiler method, but honestly, the microwave works fine if you're careful. Dip each ball completely, then let the excess drip off before placing on parchment paper.
-
Serving Timing:
Let the chocolate set completely before serving - about an hour at room temperature or 15 minutes in the refrigerator. They're best served the same day but will keep nicely for up to a week if stored properly.
-
Chill the mixture thoroughly before rolling - it makes shaping so much easier
-
Use a small cookie scoop for perfectly uniform balls every time
-
Melt chocolate slowly to avoid seizing - patience pays off here
-
Line your baking sheet with parchment paper for easy cleanup
Pro Tips
I've made these so many times over the years that the process feels like second nature now. The kitchen smells incredible while the chocolate sets, and I always sneak one before they're fully hardened - there's something about that slightly soft chocolate that just gets me.
One Thanksgiving, I brought these instead of pie, and honestly, they were the hit of the dessert table. People kept asking for the recipe, and I realized how something so simple could bring so much joy. They're perfect for when you want to make something special without the fuss of baking a full dessert.
 Snacks, Appetizers & Fun Bites
Fruit Dip Recipe – Quick & Easy Snack
Quick, easy, and irresistibly tasty fruit dip for snacks or parties.
The essence of the dish:
These aren't fancy, but they're deeply satisfying. It's that combination of familiar flavors - peanut butter and chocolate - with the unexpected crunch from the Butterfinger that makes them so addictive. They feel indulgent but are actually quite simple to make.
A fun fact or historical angle:
Butterfinger's unique crispy texture comes from a process called 'corn flake crunch' - the candy is essentially peanut butter fluff mixed with corn flakes that are then layered and pulled to create those signature flaky layers.
Flavor or sensory focus:
When you bite into one, you get the smooth chocolate shell first, then the creamy peanut butter center, and finally that satisfying crispy crunch from the candy pieces. It's a texture experience as much as a flavor one.
You Must Know
-
The mixture must be chilled before rolling - warm peanut butter makes sticky, hard-to-handle balls
-
Don't over-crush the Butterfingers - some small chunks add great texture
-
Tempering the chocolate isn't necessary for home purposes, but proper melting technique matters
-
Store in an airtight container between layers of wax paper to prevent sticking
Frequently Asked Questions
→ Can I use crunchy peanut butter instead of creamy?
You can, but the texture will be different. The creamy version gives a smoother interior that contrasts nicely with the crispy candy pieces. If you use crunchy, you'll get peanut chunks throughout, which some people love, but it changes the overall experience.
→ How long do these keep?
Stored in an airtight container at room temperature, they'll be perfect for about 5 days. In the refrigerator, they'll last up to two weeks. The chocolate might develop a slight bloom if refrigerated, but they'll still taste great.
→ Can I freeze Butterfinger balls?
Absolutely! They freeze beautifully for up to three months. Place them in a single layer on a baking sheet to freeze solid first, then transfer to an airtight container. Thaw at room temperature for about 30 minutes before serving.
→ What if my mixture is too sticky to roll?
Add a bit more powdered sugar, about a tablespoon at a time, until it's manageable. Also make sure you've chilled it sufficiently - sometimes just another 15 minutes in the refrigerator does the trick.
→ Can I use other candy bars?
Definitely! This method works wonderfully with crushed Oreos, Heath bars, or even peanut butter cups. The basic peanut butter and powdered sugar mixture is quite versatile.
→ Why did my chocolate coating crack?
This usually happens if the balls are too cold when dipped. Let them sit at room temperature for about 10 minutes after removing from the refrigerator before dipping. Also, make sure your chocolate isn't too thick - thin it with a teaspoon of coconut oil if needed.
Nutrition Facts
per serving
180
Calories
3g
Protein
18g
Carbs
11g
Fat
Taste Profile
Rich peanut butter and chocolate sweetness balanced by the crispy candy texture
Ingredient Substitutions
Don't have an ingredient? Try these alternatives
Adjust sweetness accordingly - Heath bars are less sweet, peanut butter cups are sweeter
Flavor will change significantly - almond butter is more subtle, sunflower seed butter has a distinct taste
Recipe Variations
Try these delicious twists on the original
White Chocolate Version
Use white chocolate for coating and add crushed pretzels to the mixture for sweet-salty contrast
Coconut Coated
Roll the finished balls in toasted coconut instead of dipping in chocolate for a different flavor profile
Common Mistakes to Avoid
Learn from others' mistakes for perfect results
- Not chilling the mixture enough before rolling - results in sticky mess
- Over-melting the chocolate - causes graininess and poor setting
- Making balls too large - they become messy to eat and dip unevenly
- Skipping the parchment paper - balls stick to baking sheet
Meal Prep & Storage
Make Ahead Tips
The balls can be formed and stored in the refrigerator for up to 2 days before dipping. Alternatively, complete the recipe and freeze for up to 3 months - thaw at room temperature before serving.
Leftover Ideas
Store leftovers in an airtight container. If they soften, 15 minutes in the refrigerator will restore the chocolate snap. They're also delicious slightly chilled.
Perfect Pairings
Serve this with...
Cooking Timeline
Crush candy bars and mix all ball ingredients together
Chill mixture in refrigerator to firm up
Roll mixture into balls and freeze briefly
Melt chocolate and dip each ball
Let chocolate set completely at room temperature
 Snacks, Appetizers & Fun Bites
Quick Cucumber Mozzarella Salad
A quick, crisp cucumber and mozzarella salad with a hint of sweet vinaigrette.
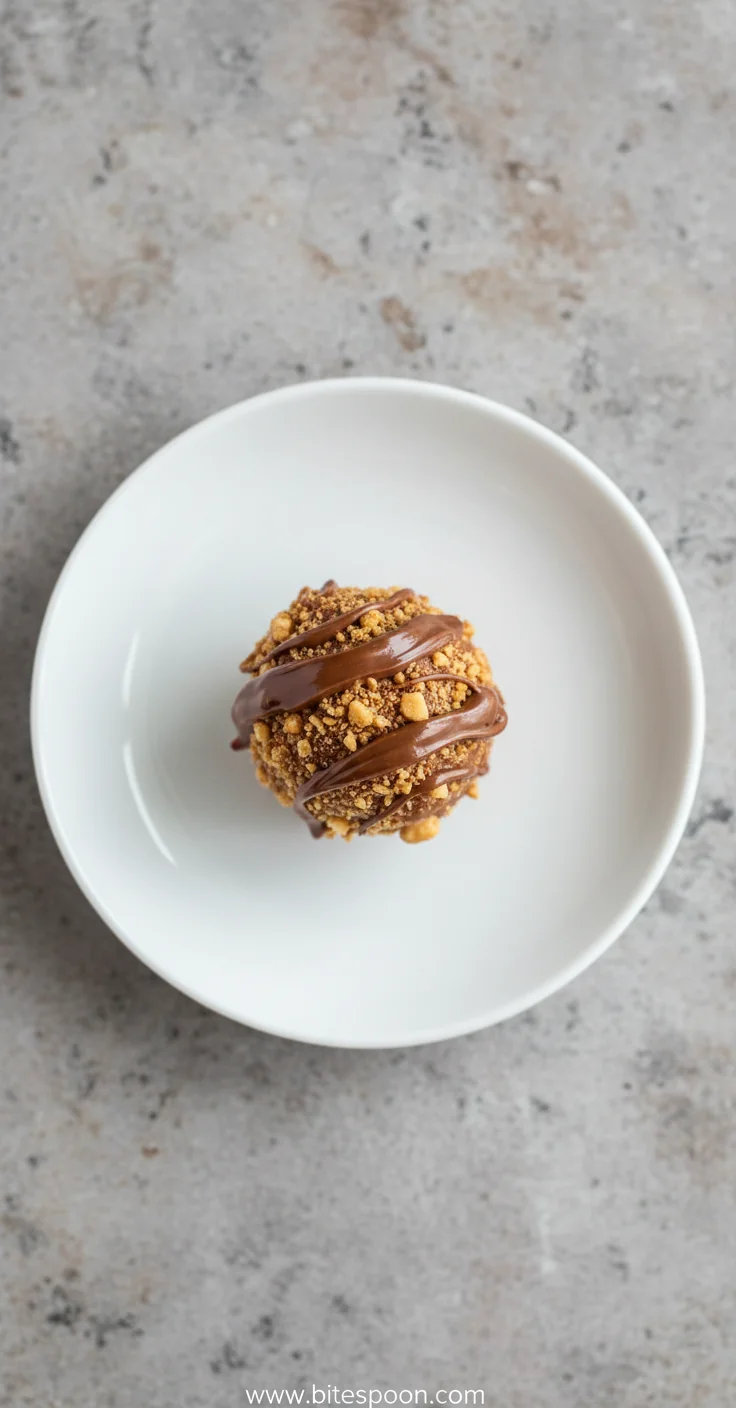
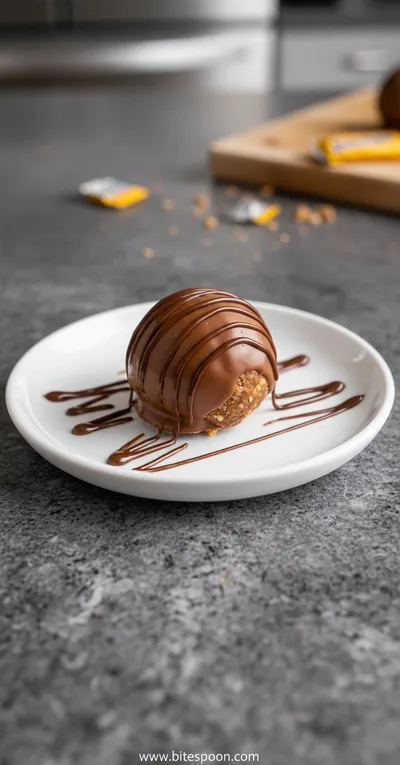
Easy Butterfinger Balls Recipe
Honestly, these Butterfinger balls are my go-to when I want something sweet but don't want to spend hours in the kitchen. They've got that perfect crunch from the candy mixed right in, and the creamy peanut butter holds everything together. I remember making these for my daughter's birthday party last year - the kids couldn't get enough, and honestly, neither could the adults. There's something about rolling them between your palms that feels so... comforting, you know? The chocolate coating sets up nice and firm, but the inside stays soft. They're little bites of happiness, really.
Timing
Prep Time
30 Minutes
Cook Time
0 Minutes
Total Time
1 Hour 30 Minutes
Recipe Details
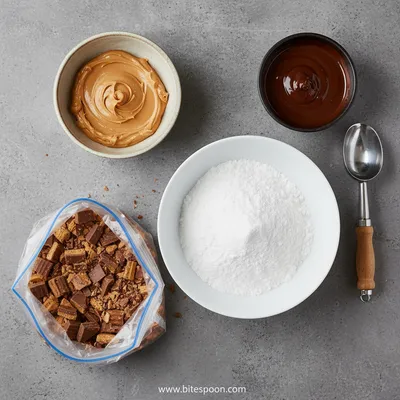
Ingredients
For the Balls
-
01
8 full-size Butterfinger candy bars (about 2 cups crushed)
-
02
1 cup creamy peanut butter
-
03
1/2 cup powdered sugar
-
04
1/4 cup unsalted butter, softened
-
05
1 teaspoon vanilla extract
For the Coating
-
01
2 cups semi-sweet chocolate chips
-
02
1 tablespoon coconut oil or shortening
Instructions
Place the Butterfinger bars in a food processor and pulse until finely crushed but still with some small chunks. You can also place them in a zip-top bag and crush with a rolling pin. Transfer to a large mixing bowl.
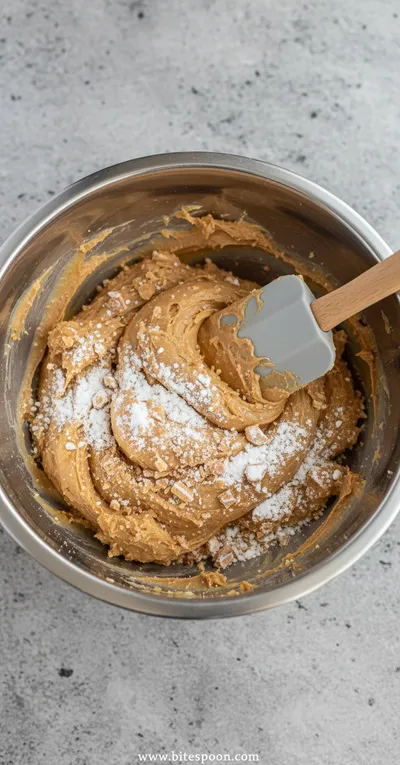
Add the peanut butter, powdered sugar, softened butter, and vanilla extract to the bowl. Mix until well combined. The mixture should be thick and hold together when pressed. If it's too sticky, add another tablespoon of powdered sugar.
Cover the bowl and refrigerate for 30 minutes. This chilling time is crucial - it makes the mixture firm enough to roll without sticking to your hands.
Line a baking sheet with parchment paper. Using your hands or a small cookie scoop, roll the mixture into 1-inch balls. Place them on the prepared baking sheet. If your hands get sticky, dampen them slightly with cold water.
Place the baking sheet in the freezer for 15 minutes while you prepare the chocolate coating. This extra chill helps the balls hold their shape during dipping.
Melt the chocolate chips and coconut oil together using a double boiler or microwave. If using microwave, heat in 30-second intervals, stirring between each, until smooth and fully melted.
Using a fork or dipping tool, dip each chilled ball into the melted chocolate, coating completely. Let excess chocolate drip off, then return to the parchment-lined baking sheet.
Let the chocolate set at room temperature for about 1 hour, or refrigerate for 15 minutes until firm. Store in an airtight container between layers of wax paper.
Notes & Tips
-
1
Make sure all ingredients are at room temperature except for the chilling steps
-
2
The balls can be made up to 2 days ahead and stored in the refrigerator before dipping
-
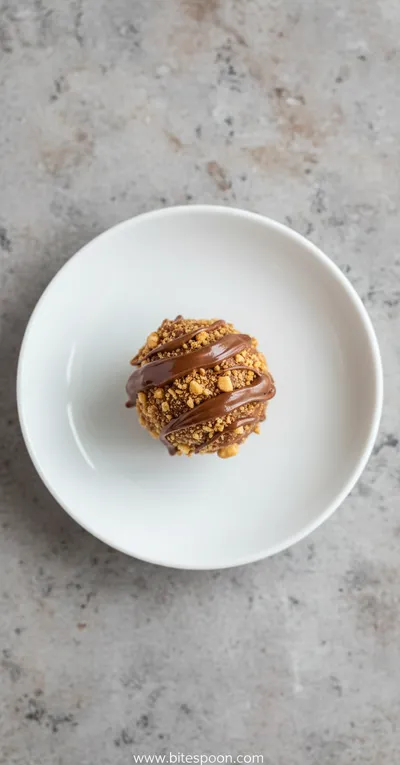
3
For a decorative touch, drizzle with white chocolate or sprinkle with crushed Butterfinger pieces before the chocolate sets
-
4
If the mixture becomes too firm in the refrigerator, let it sit at room temperature for 10 minutes before rolling
 Snacks, Appetizers & Fun Bites
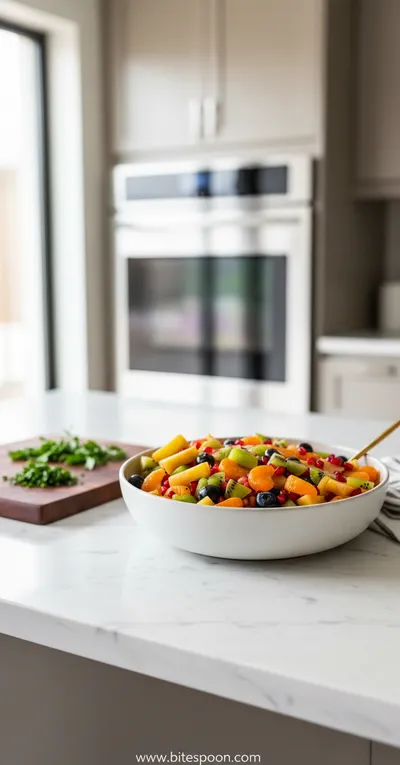
Winter Fruit Salad With Lime Dressing
Seasonal winter fruits with a zingy lime vinaigrette.
Tools You'll Need
-
Food processor or rolling pin and zip-top bag
-
Large mixing bowl
-
Baking sheets
-
Parchment paper
-
Double boiler or microwave-safe bowl
-
Fork or dipping tool
-
Measuring cups and spoons
Must-Know Tips
-
Chill the mixture thoroughly before rolling - warm peanut butter makes sticky, hard-to-handle balls
-
Use a cookie scoop for uniform sizing - this ensures even dipping and setting
-
Don't skip the freezer step before dipping - cold balls help the chocolate set faster and more evenly
Professional Secrets
-
Add a pinch of salt to the peanut butter mixture - it enhances all the flavors
-
Temper your chocolate properly for a shiny finish that doesn't melt as easily
-
Use high-quality chocolate chips - the coating is the first thing people taste

Recipe by
Mia CollinsSmall bites, big happiness 😋✨ Fun snacks, tasty treats, and flavor in every bite 🧆
Get Delicious Recipes Weekly
Join 25,000+ home cooks getting our best recipes straight to their inbox.
Free forever • No spam • Unsubscribe anytime