The marriage of coffee and protein isn’t new – travelers on long treks historically mixed coffee with powdered milk for energy. Modern athletes now blend espresso with whey for a post‑workout boost. This recipe draws on that heritage, offering a quick‑fix treat that’s both comforting and nourishing. It’s not a fancy dessert; it’s a humble kitchen ritual that fits into everyday life.
Why You'll Love It
-
- Creamy texture thanks to the Ninja Creami’s spin cycle
-
- Coffee kick without extra sugar
-
- High‑protein boost for satiety
-
- Easy to customize with your favorite beans
"I never thought protein ice cream could taste this rich – it’s my new after‑dinner ritual!"
Essential Ingredient Guide
- Espresso or strong coffee: Use freshly brewed espresso for bold flavor; let it cool before mixing.
- Whey protein isolate: Choose an unflavored or vanilla variety; it blends smoothly and adds muscle‑friendly protein.
- Milk or milk alternative: Whole milk gives richness, but oat milk works well for a dairy‑free version.
- Cocoa powder: A tablespoon deepens the mocha note without overwhelming coffee.
- Mild sweetener: Maple syrup or stevia adds just enough sweetness to balance bitterness.
- Dark chocolate chips (optional): Fold in after churn for pockets of melty texture.

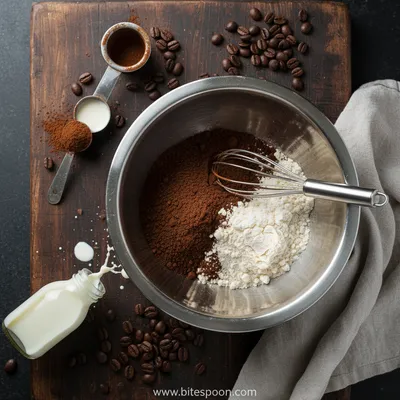
Complete Cooking Process
-
Ingredient Readiness:
Measure and chill all liquids; whisk protein powder into milk to avoid lumps.
-
Flavor Development:
Blend espresso, cocoa, and sweetener until silky, then combine with protein mixture.
-
Texture Control:
Freeze the blend in the Ninja Creami pint for 24 hours – this sets the base for that smooth scoop.
-
Finishing Touches:
Process in the Creami, then fold in chocolate chips and a drizzle of espresso‑infused syrup.
-
Serving Timing:
Serve immediately for a soft‑serve feel, or refreeze 30 minutes for firmer scoops.
-
Cool the espresso completely before mixing – it prevents grainy texture.
-
Use a metal whisk to fully dissolve whey protein.
-
Create a ripple of chocolate by drizzling after the spin, not before.
-
Store leftover pint in the freezer, then let sit 10 minutes before re‑spinning.
Pro Tips
I’ve found that letting the pint sit at room temperature for a few minutes before the final spin helps the Creami achieve that perfect, creamy consistency. Honestly, it’s a tiny step that makes a big difference, especially when you’re aiming for that café‑like indulgence without the hassle.
The essence of the dish:
The ice cream balances the earthy bitterness of espresso with the smoothness of whey protein, creating a dessert that feels both energizing and comforting.
A fun fact or historical angle:
Coffee‑flavored frozen desserts date back to the 1960s in Italy, where they blended espresso with gelato for a refreshing treat during summer heat.
Flavor or sensory focus:
You’ll notice a velvety mouthfeel, a gentle coffee aroma, and a faint chocolate undertone that lingers after each bite.
You Must Know
-
Freeze the base for a full 24 hours
-
Use unflavored whey for a neutral base
-
Add chocolate chips after the spin
Frequently Asked Questions
→ Can I use plant‑based protein?
Yes, pea or soy protein works well; just be sure to blend thoroughly to avoid gritty texture.
→ Do I need to pre‑brew espresso?
Strongly brewed coffee or espresso is best – it provides the depth of flavor needed for the mocha profile.
→ How long can leftovers be stored?
Keep the pint sealed in the freezer for up to two weeks; allow 10‑15 minutes at room temperature before re‑spinning.
→ Can I add sugar‑free sweeteners?
Absolutely – stevia or erythritol can replace maple syrup; adjust to taste.
→ Is this recipe keto‑friendly?
Swap maple syrup for a keto‑approved sweetener and use full‑fat coconut milk for a low‑carb version.
→ What if I don’t have a Ninja Creami?
You can try a standard ice‑cream maker, but the texture won’t be as ultra‑smooth.
Nutrition Facts
per serving
250
Calories
18g
Protein
23g
Carbs
9g
Fat
Taste Profile
Balanced coffee‑chocolate sweetness with protein richness
Ingredient Substitutions
Don't have an ingredient? Try these alternatives
Pea protein creates a slightly earthier flavor; blend well to avoid grit.
Honey adds a floral note; stevia keeps it sugar‑free but may need a tiny pinch of extra salt.
Recipe Variations
Try these delicious twists on the original
Spicy Version
Add a pinch of cayenne pepper or a dash of chocolate‑chili syrup for a gentle heat.
Mediterranean Style
Swap cocoa for a touch of cardamom, and fold in chopped pistachios after the spin.
Common Mistakes to Avoid
Learn from others' mistakes for perfect results
- Adding warm espresso – it creates grainy texture.
- Over‑mixing add‑ins – they melt into the base.
- Freezing less than 24 hours – results in icy scoops.
Meal Prep & Storage
Make Ahead Tips
You can blend and freeze the base up to 48 hours in advance; just give it a quick whisk before freezing.
Leftover Ideas
Re‑spin the leftover pint on the ‘Mix‑In’ setting after a 10‑minute room‑temperature rest for a fresh texture.
Perfect Pairings
Serve this with...
Cooking Timeline
Prepare espresso, whisk milk and protein, add cocoa and sweetener.
Combine all ingredients, pour into pint, seal and set in freezer.
Freeze base solid.
Run Creami ‘Ice Cream’ cycle.
Fold in chocolate chips, re‑spin briefly on ‘Mix‑In’.

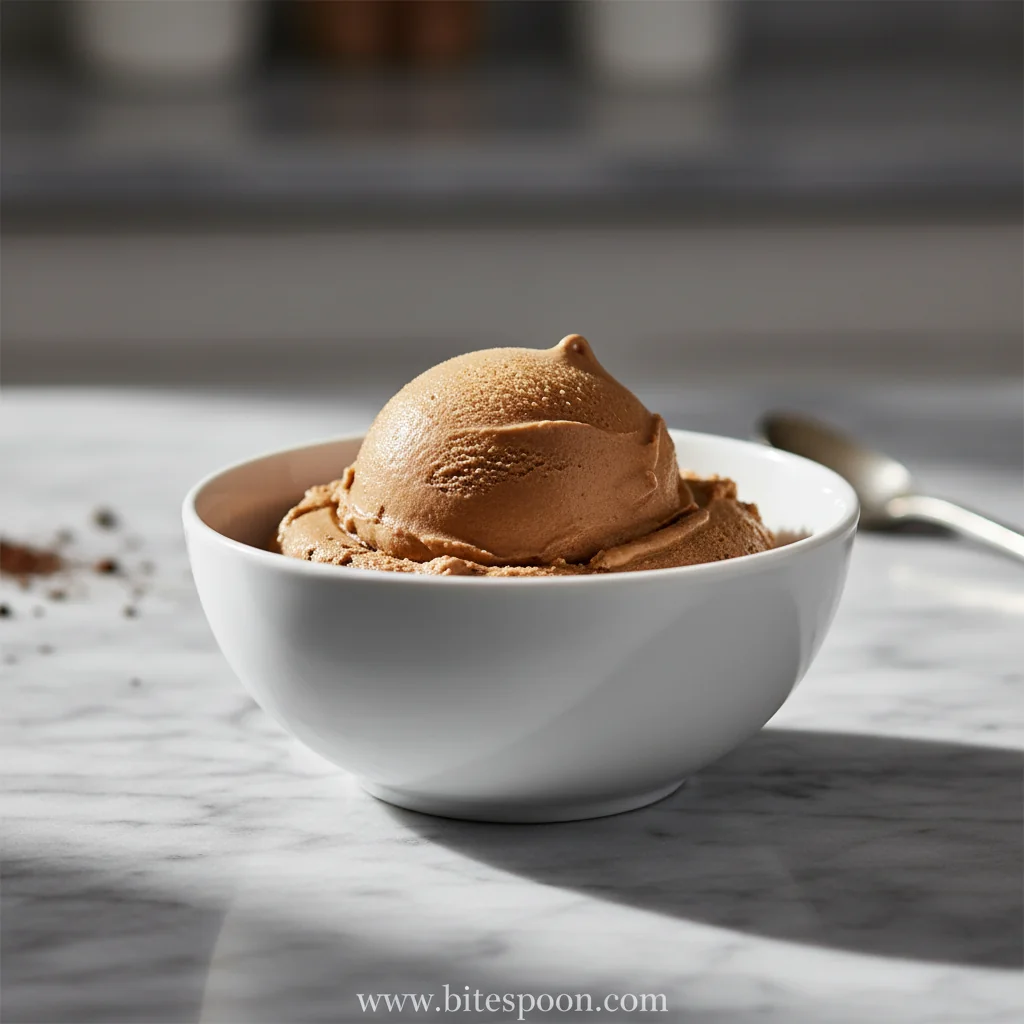
Ninja Creami Mocha Espresso Protein Ice Cream
A silky, coffee‑kissed protein ice cream made in the Ninja Creami, perfect for a quick, guilt‑free treat that feels like a café indulgence.
Timing
Prep Time
15 Minutes
Cook Time
0 Minutes
Total Time
25 Minutes (plus 24‑hour freeze)
Recipe Details
Ingredients
Base Mix
-
01
2 cups whole milk (or oat milk)
-
02
1 scoop (30 g) vanilla whey protein isolate
-
03
1/2 cup strong brewed espresso, cooled
-
04
2 tbsp unsweetened cocoa powder
-
05
3 tbsp maple syrup (or preferred sweetener)
-
06
1 tsp vanilla extract
-
07
Pinch of sea salt
Add‑Ins
-
01
1/4 cup dark chocolate chips (optional)
-
02
Extra drizzle of espresso‑infused syrup for serving
Instructions
In a mixing bowl, whisk the milk and whey protein until fully dissolved – no lumps, just a smooth canvas.
Add the cooled espresso, cocoa powder, maple syrup, vanilla extract, and a pinch of salt; stir gently until the mixture is uniform.
Pour the blend into the Ninja Creami pint container, level the surface, and seal the lid.
Place the pint in the freezer for a solid 24 hours – this is the secret to the creamy texture.
After freezing, insert the pint into the Ninja Creami and select the ‘Ice Cream’ function; let the machine spin for about 4 minutes.
Open the lid, fold in chocolate chips if using, then re‑spin on the ‘Mix‑In’ setting for a quick 30‑second whirl.
Serve immediately for a soft‑serve feel, or return to the freezer for an extra 30 minutes for firmer scoops. Drizzle with espresso syrup and enjoy.
Notes & Tips
-
1
If the mixture is too thick after the first spin, add a splash of milk and re‑spin.
-
2
For an extra coffee punch, sprinkle a pinch of instant coffee granules before the final freeze.
-
3
You can swap cocoa for a tablespoon of finely ground espresso for a deeper roast flavor.

Tools You'll Need
-
Ninja Creami machine
-
Measuring cups and spoons
-
Whisk
-
Mixing bowl
-
Spatula
-
Espresso maker or strong coffee brewer
Must-Know Tips
-
Cool the espresso fully before mixing to avoid grainy texture.
-
Use a metal whisk for smooth protein integration.
-
Fold in chocolate chips after the spin to keep them distinct.
Professional Secrets
-
Room temperature liquids blend more evenly, preventing ice crystals.
-
A short re‑spin after add‑ins restores creaminess.
-
Freezing for a full 24 hours maximizes the Creami’s smoothness.

Recipe by
Alexa CarterFast food, but smarter 🔥🍽️ Bold flavors, simple steps, and meals that always hit the spot 😎
Get Delicious Recipes Weekly
Join 25,000+ home cooks getting our best recipes straight to their inbox.
Free forever • No spam • Unsubscribe anytime