
Caramel has long been a staple of European confectionery, its glossy amber hue first appearing in medieval sugar houses. By the 19th century, caramel became a favorite flavor for frozen desserts, celebrated for its buttery depth and smooth melt. This recipe honors that heritage while embracing modern home‑freezing technology, delivering a classic taste with effortless preparation.
Why You'll Love It
-
- Velvety texture that feels like butter in your mouth
-
- Balanced salty‑sweet profile that never overwhelms
-
- No‑churn, thanks to the Ninja Creami’s gentle spin
-
- Easy to customize with your favorite toppings
"The caramel flavor is pure, the salt is just right – a true comfort scoop!"
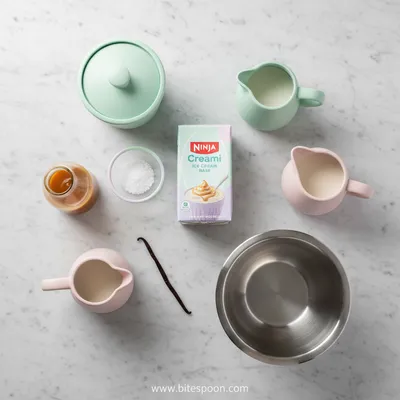
Essential Ingredient Guide
- Heavy cream: Provides the rich, silky body; choose a high‑fat version for the smoothest result.
- Granulated sugar: Creates the caramel’s sweet foundation; dissolve it fully before heating.
- Sea salt: A pinch enhances flavor and cuts the sweetness, giving that classic salted caramel feel.
- Vanilla extract: Adds depth; a small splash rounds out the caramel notes.
- Butter: Finishes the caramel with a glossy sheen and buttery richness.
- Light brown sugar: Boosts the caramel’s deep, molasses undertones without adding extra bitterness.
Complete Cooking Process
-
Ingredient Readiness:
Measure and warm the cream and sugars together, ensuring everything dissolves before cooling.
-
Flavor Development:
Cook the mixture until it turns a deep amber, then whisk in butter and salt for that classic caramel.
-
Texture Control:
Cool the caramel base rapidly in an ice bath, then blend with remaining cream for a uniform custard.
-
Finishing Touches:
Pour into the Ninja Creami pint, freeze solid, and run the “Ice Cream” cycle.
-
Serving Timing:
Let the ice cream sit for a minute after the cycle; this lets the texture settle before scooping.
-
Cool the caramel base quickly to avoid grainy texture
-
Add a pinch more salt if you prefer a stronger contrast
-
Swirl in a drizzle of caramel after the cycle for ribbons
-
Use a metal spoon to keep the scoop cold and smooth
Pro Tips
I find that letting the pint sit for a short rest makes the final scoop extra creamy, almost like it was churned in a professional machine. Yeah, the little pause really matters – it’s a tiny secret that brings big comfort.
 Snacks, Appetizers & Fun Bites
Fruit Dip Recipe – Quick & Easy Snack
Quick, easy, and irresistibly tasty fruit dip for snacks or parties.
The essence of the dish:
It’s the balance of sweet butter‑rich caramel and a whisper of sea salt, creating a harmonious flavor that feels both nostalgic and fresh.
A fun fact or historical angle:
The first recorded caramel recipe dates back to the 17th‑century French court, where chefs melted sugar with butter to craft luxurious confections.
Flavor or sensory focus:
You’ll notice the silky mouthfeel first, then the buttery caramel unfolds, finishing with a subtle salty snap that lingers gently.
You Must Know
-
Chill the base thoroughly before the Creami cycle
-
Don’t over‑cook the caramel; it can turn bitter
-
A tiny pinch of salt makes all the difference
Frequently Asked Questions
→ Can I use non‑dairy milk?
Yes, substitute coconut milk or oat milk, but keep the fat content high for a creamy texture.
→ How long can the ice cream be stored?
It stays perfect for up to two weeks in the freezer, though texture is best within the first week.
→ Do I need to add extra salt?
A pinch is enough for most palates; taste after the cycle and adjust if you love a stronger salty edge.
→ Can I add mix‑ins like chocolate chips?
Absolutely – fold them in after the Creami cycle so they stay crunchy.
→ Is the recipe suitable for keto?
Swap the granulated sugar for erythritol or a keto‑friendly sweetener; the texture remains smooth.
→ What’s the best way to re‑scoop leftovers?
Warm the spoon under hot water briefly; it helps glide through the ice cream without tearing.
Nutrition Facts
per serving
340
Calories
4g
Protein
32g
Carbs
22g
Fat
Taste Profile
Rich caramel sweetness balanced by sea salt
Ingredient Substitutions
Don't have an ingredient? Try these alternatives
Provides similar richness; chill the coconut cream before use.
Keto‑friendly; may need a bit more butter to retain caramel texture.
Recipe Variations
Try these delicious twists on the original
Spicy Version
Add a pinch of cayenne pepper to the caramel base for a subtle heat that contrasts the sweetness.
Vegan Style
Replace dairy with coconut cream and butter with vegan margarine; keep the sea salt for the same balanced flavor.
Common Mistakes to Avoid
Learn from others' mistakes for perfect results
- Over‑cooking the sugar, which leads to bitterness
- Skipping the ice bath, resulting in a grainy texture
- Not chilling the base fully before the Creami cycle
Meal Prep & Storage
Make Ahead Tips
You can prepare the caramel base up to 24 hours ahead; keep it chilled and give it a good whisk before freezing in the Creami pint.
Leftover Ideas
Re‑scoop directly from the freezer; if too hard, let sit for a minute or two before serving.
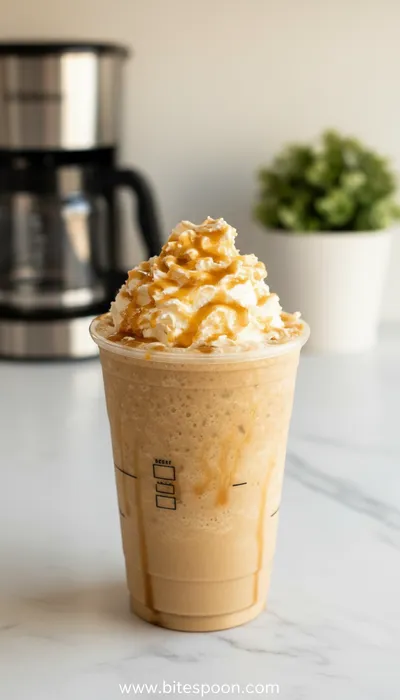
Perfect Pairings
Serve this with...
Cooking Timeline
Gather and measure all ingredients; set up saucepan.
Heat dairy and sugars, bring to amber caramel, whisk in butter, salt, and vanilla.
Cool the caramel base quickly in an ice bath, then refrigerate.
Pour chilled base into Ninja Creami pint, seal, and freeze solid.
Run the Creami “Ice Cream” cycle; transfer to container and freeze briefly before serving.
 Snacks, Appetizers & Fun Bites
Quick Cucumber Mozzarella Salad
A quick, crisp cucumber and mozzarella salad with a hint of sweet vinaigrette.
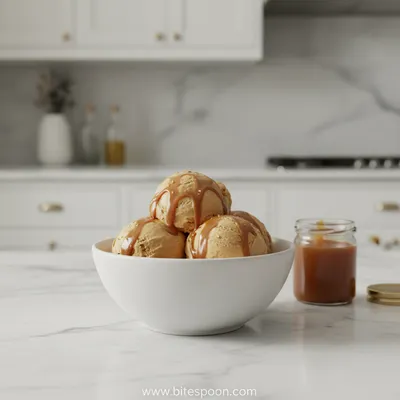
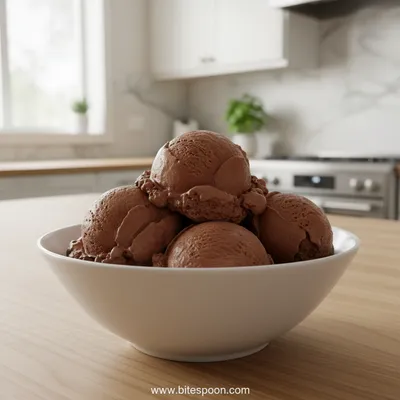
Ninja Creami Salted Caramel Ice Cream
A silky, buttery salted caramel ice cream made in the Ninja Creami that feels like a soft, sweet hug on a spoon. Honestly, it’s simple enough for a weekend treat and indulgent enough for a special night.
Timing
Prep Time
20 Minutes
Cook Time
15 Minutes
Total Time
45 Minutes
Recipe Details
Ingredients
Main Ingredients
-
01
2 cups heavy cream
-
02
1 cup whole milk
-
03
3/4 cup granulated sugar
-
04
1/2 cup light brown sugar
-
05
1/4 cup unsalted butter, cubed
-
06
1 tsp sea salt
-
07
1 tsp vanilla extract
Instructions
In a medium saucepan, combine heavy cream, milk, granulated sugar, and brown sugar. Heat over medium, stirring until the sugars dissolve.
Raise the heat and bring the mixture to a gentle boil; continue cooking, swirling the pan, until it turns a deep amber caramel, about 8‑10 minutes.
Remove from heat, whisk in the butter until smooth, then stir in sea salt and vanilla extract.
Cool the caramel base quickly in an ice bath, then cover and chill in the refrigerator for at least 2 hours.
Pour the chilled base into a Ninja Creami pint, secure the lid, freeze solid (overnight or 24 hours).
Run the Creami “Ice Cream” program, then transfer to a container and freeze a few more minutes before serving.
Notes & Tips
-
1
If the ice cream feels a bit icy, run the “Mix‑In” cycle with a drizzle of caramel.
-
2
For added texture, fold in toasted pecans after the Creami cycle – it adds a pleasant crunch.
-
3
Remember to ice cream sandwich cake as a playful side.
Tools You'll Need
-
Ninja Creami machine
-
Medium saucepan
-
Heat‑proof bowl
-
Whisk
-
Measuring cups and spoons
-
Ice bath container
Must-Know Tips
-
Cool the caramel quickly to avoid graininess
-
Do not over‑cook the sugar; it can turn bitter
-
Allow the pint to sit for a minute after the cycle for smoother scoops
Professional Secrets
-
Use room‑temperature dairy to ensure even heating
-
High heat at the start creates a deeper caramel flavor
-
Deglaze with a splash of heavy cream to capture all caramel bits

Recipe by
Mia CollinsSmall bites, big happiness 😋✨ Fun snacks, tasty treats, and flavor in every bite 🧆
Get Delicious Recipes Weekly
Join 25,000+ home cooks getting our best recipes straight to their inbox.
Free forever • No spam • Unsubscribe anytime