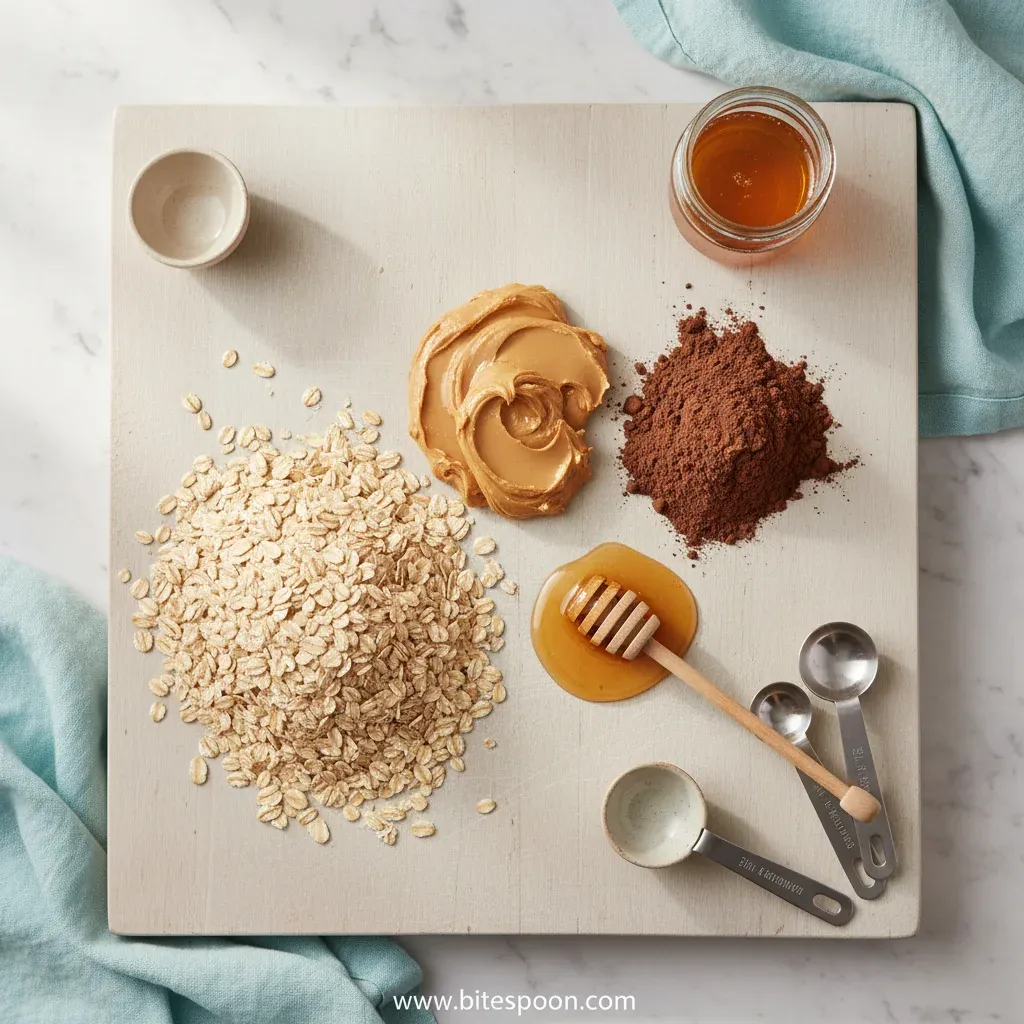
Honestly, when I first tried these, I thought "Wow, that was easy!" I was looking for a snack that could sit on the pantry shelf and still feel homemade. So, I gathered the basics—peanut butter, cocoa, protein powder, and a touch of honey—then let the magic happen without turning on the oven. No‑bake energy is the best kind of lazy cooking.
The essence of the dish
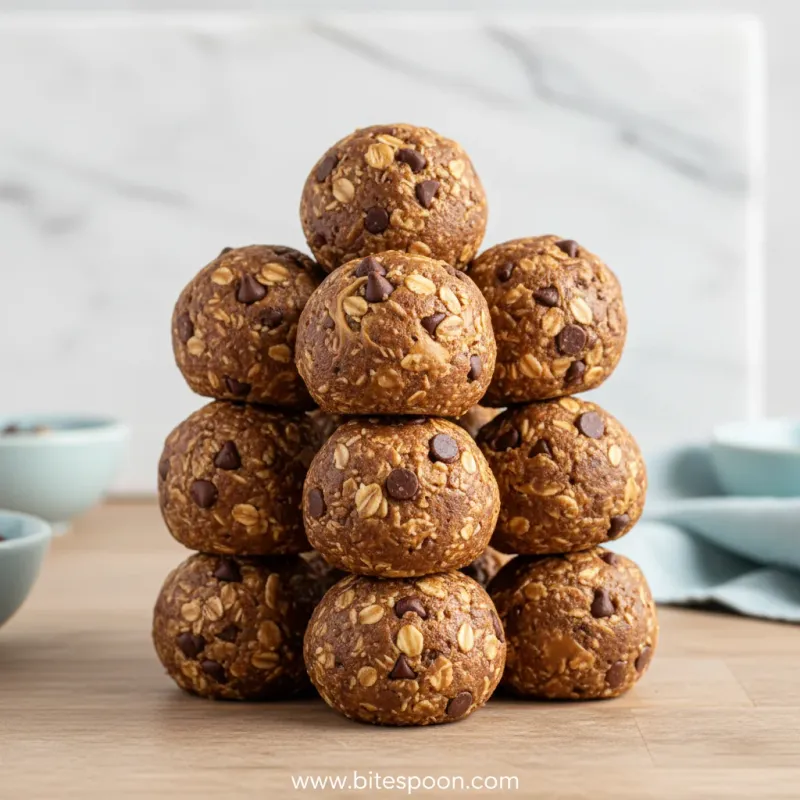
It’s a harmony of creamy peanut butter and dark cocoa, blended with protein powder to create a pocket of nourishment that melts gently on the tongue.
A fun fact or historical angle
Did you know that peanut butter was once marketed as a protein source for athletes in the 1930s? It’s no wonder it still powers our modern snack.
Flavor or sensory focus
The first bite offers a subtle honey sweetness, followed quickly by a rich chocolate after‑taste, all wrapped in a velvety peanut butter coat.
You Must Know
- Keep the mixture cool while shaping.
- Don’t over‑mix; a few lumps are fine.
- Adjust honey if you prefer less sweetness.
When you work quickly, the heat from your hands can soften the mixture too much, making the balls lose their shape. I always pause, pop the bowl in the fridge for a few minutes, then finish the batch. This little pause makes a big difference in texture, and the result is a smooth, compact bite that holds together beautifully. It’s the sort of small ritual that brings calm to a busy kitchen.
The story behind it
The idea of combining chocolate and peanut butter dates back to the early 20th century, when companies first paired the two for candy bars. I remember a kitchen story my mother told me about her first batch of homemade chocolate‑peanut butter treats during a snowstorm—they were simple, comforting, and kept the whole family smiling. Today, those memories inspire this healthy peanut butter balls that are both nostalgic and nutritious.
Why You'll Love It
- Only four simple ingredients, no fancy equipment.
- No baking required, perfect for hot days.
- High‑protein boost to keep you satisfied.
- Chocolatey comfort that feels indulgent.
Tips for success
- Don’t over‑mix the dry ingredients; a few lumps are okay.
- Chill the dough before shaping to prevent sticky fingers.
- Store in a sealed container to keep moisture out.
- Taste the mixture before chilling and adjust honey if needed.
Professional secrets
- Room temperature peanut butter blends more evenly.
- Sift cocoa and protein powder to avoid gritty pockets.
- A quick burst of cold air in the fridge solidifies the binder.
Common mistakes to avoid
- Over‑mixing the dough, which can make it dry.
- Skipping the chill step, leading to sticky balls.
- Using too much honey, resulting in a sugary coating.
Substitutions
- Peanut Butter: Almond butter. Almond butter adds a milder flavor; keep the consistency creamy.
- Honey: Maple syrup. Maple adds a deeper caramel note; use the same amount.
Variations
- Spicy Version: Add a pinch of cayenne and a drizzle of sriracha for a subtle heat.
- Mediterranean Style: Mix in finely chopped pistachios and a splash of orange zest.
Storage
Keep in an airtight container in the refrigerator for up to 7 days.
Make ahead
You can prepare the dough up to 2 days ahead; store it in the fridge and shape the balls when needed.
Leftovers
Refrigerate any extras and enjoy within a week; they stay soft and flavorful.
Serving ideas
- Place on a small plate with a side of fresh fruit.
- Pack in a lunchbox for an afternoon boost.
- Serve at a casual gathering alongside tea or coffee.
Allergy information
Contains peanuts, honey, and soy (in some protein powders).
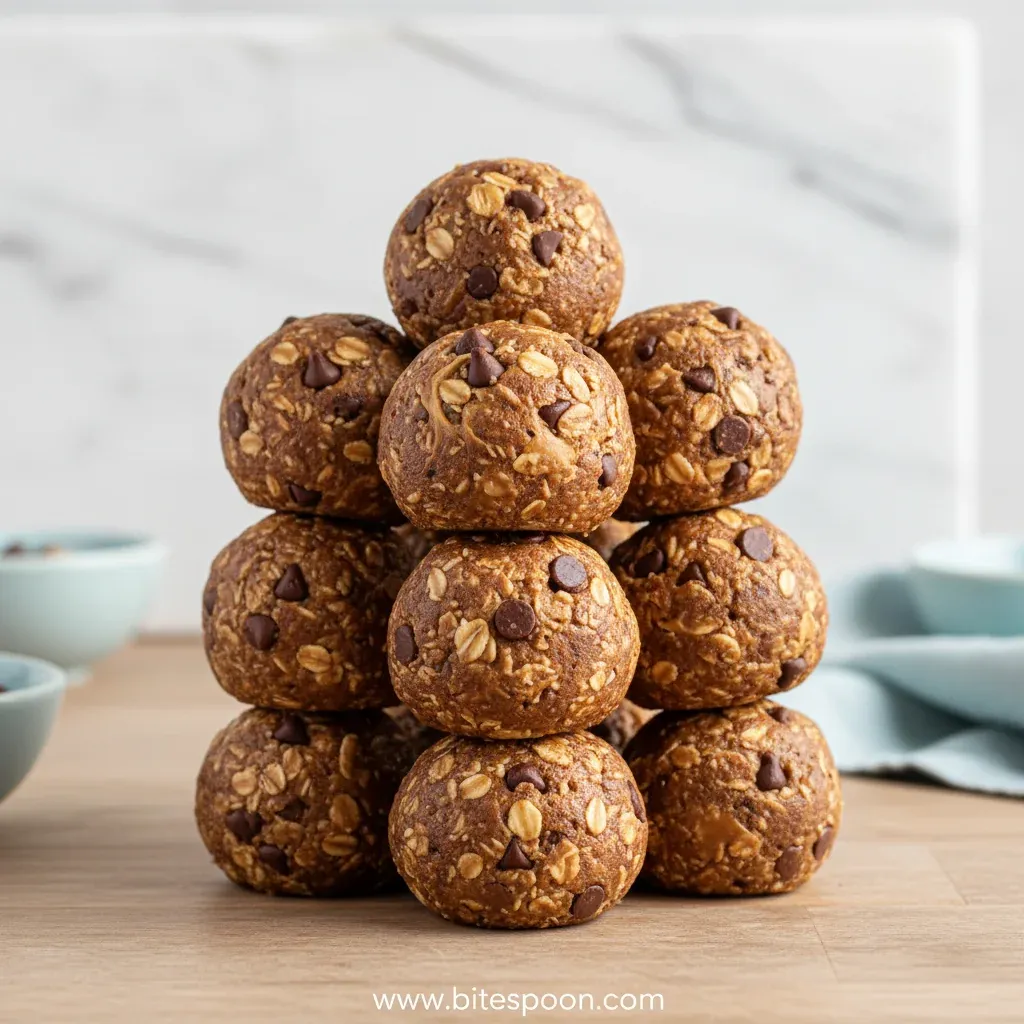
No-Bake Chocolate Peanut Butter Protein Balls
Quick no‑bake chocolate peanut butter protein balls, perfect for a protein‑rich snack.
- Prep time
- 10 min
- Total time
- 10 min
- Difficulty
- Easy
- Cuisine
- American
- Course
- Snack
Ingredients
Base
Instructions
- 1
In a medium bowl, stir together the peanut butter and honey until smooth; the honey should flow easily.
- 2
Add the vanilla and sea salt, mixing just until incorporated.
- 3
Sift the cocoa powder and protein powder together, then sprinkle over the wet mixture; stir until a uniform dough forms.
- 4
Cover the bowl and chill for 15 minutes; this firms the dough for easier shaping.
- 5
Roll the chilled mixture between your palms into 1‑inch balls; place on a parchment‑lined tray.
- 6
Refrigerate the balls for at least 20 minutes before serving.
Nutrition per serving
- 120 kcal
- Calories
- 8 g
- Protein
- 10 g
- Carbs
- 7 g
- Fat
Tips & notes
- If the dough feels too sticky, add a tablespoon more cocoa powder. - For a smoother texture, use creamy peanut butter rather than chunky. - Feel free to coat the finished balls in shredded coconut or crushed nuts for extra crunch.
Frequently asked questions
Can I use plant‑based protein powder?
Absolutely; pea or rice protein works well and keeps the recipe vegan-friendly.
What if I don’t have honey?
Maple syrup or agave nectar can be substituted in equal amounts.
How long do they keep?
Stored in the fridge, they stay fresh for up to a week.
Can I add nuts or dried fruit?
Yes, fold in chopped almonds or raisins after mixing the base.
Do I need to bake them?
No, that’s the beauty of this recipe—no oven required.
What’s the protein content per ball?
Roughly 8 grams, depending on the protein powder used.

Mia Collins
Small bites, big happiness 😋✨ Fun snacks, tasty treats, and flavor in every bite 🧆