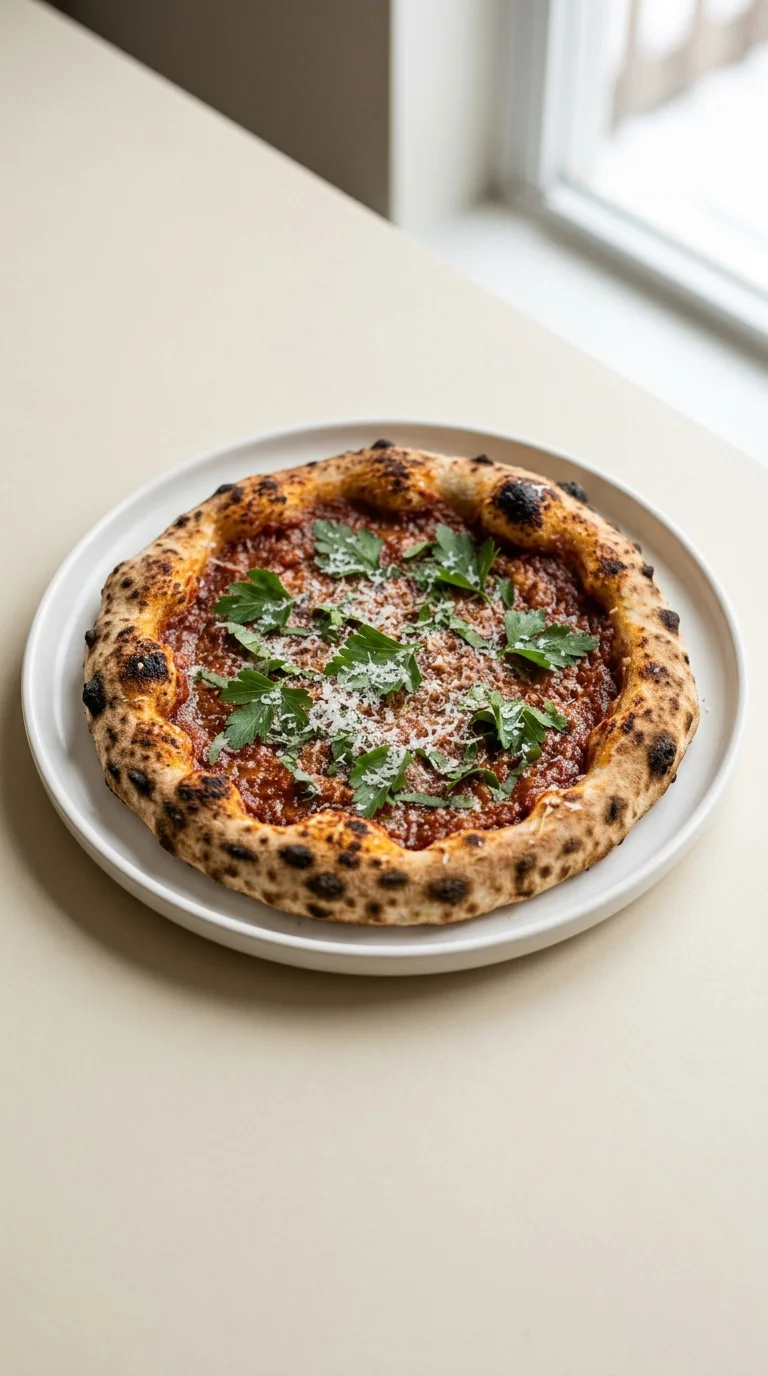
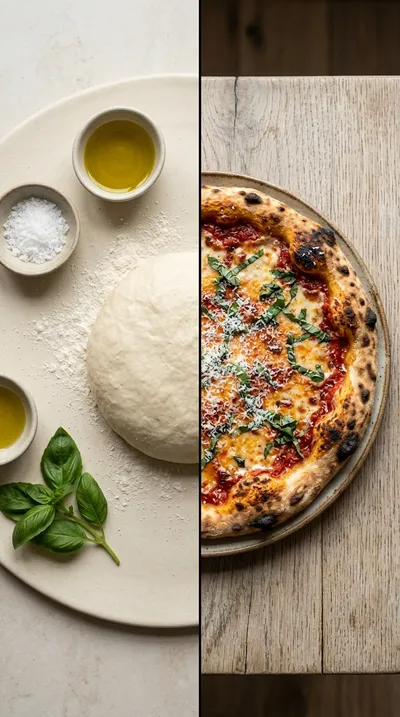
The tradition of using "spent" dough finds its roots in the ancient practice of waste-not kitchens across Europe, where every scrap of fermented grain was cherished. Sourdough discard pizza crust carries this legacy forward, blending the ancestral art of wild yeast with the beloved Neapolitan spirit of Italy. While traditional pizza relies on commercial yeast for a quick lift, the use of discard introduces a complex, lactic acidity that mimics the long-fermented breads of old-world bakeries.
Historically, sourdough was the primary way bread was made before the industrialization of yeast in the 19th century. By incorporating this fermented starter into a pizza base, the dough undergoes a deeper enzymatic breakdown. This process not only enhances the flavor profile but also makes the crust more digestible, bridging the gap between a rustic country loaf and a refined Italian pie.
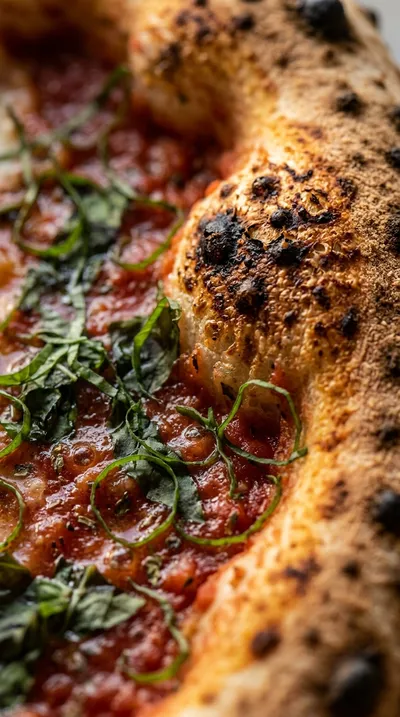
Today, this approach reflects a global return to sustainable cooking. It transforms a byproduct of the baking process into a centerpiece of the dinner table, honoring the patience of fermentation and the timeless appeal of a charred, bubbly crust.
Why You'll Love It
-
- Honestly, it is just such a relief to use up that 1 cup sourdough discard instead of tossing it, and the flavor it adds is just... wow.
-
- I love how the edges get that lovely bakery-style crackle while the center stays chewy, just like the pizzas we used to get on weekend trips.
-
- It's a wonderfully grounded process, from the feel of the dough under your palms to that warm, yeasty smell filling the kitchen.
-
- Well, look, it's fancy enough for guests but simple enough for a Tuesday night, making it a real comfort in a bowl.
"I love how the edges get that perfect crunch! It's honestly the best way to use my starter discard."
Essential Ingredient Guide
- 1 cup sourdough discard: This is where the magic happens. I always make sure mine is at room temperature so the dough feels happy and relaxes easily.
- 1 1/2 cups all-purpose flour: Simple and reliable. I like to sift it gently to keep the dough light, though a few lumps here and there never hurt anyone.
- 1 tbsp olive oil: A little goes a long way for that golden glow. It adds a subtle richness that just makes the crust feel complete.
- 1 tsp salt: Don't skip this, really. It wakes up all those fermented notes in the discard and keeps the flavor from being too flat.
- 1/2 cup warm water: I aim for about 110°F—just a gentle warmth. If it's too hot, oops, you might hurt the wild yeast, so just be careful.
- extra for dusting: Having a bit of extra flour on the counter keeps things from getting sticky. It just makes the kneading process feel so much smoother.
Complete Cooking Process
-
Getting Ready:
I start by making sure my 1 cup sourdough discard is sitting out at room temperature. It's just easier to mix everything together when nothing is shivering from the fridge.
-
Developing Flavor:
The real soul of the pizza happens during that bulk ferment. Letting it sit for an hour—or even three if you're feeling patient—deepens that signature tang.
-
Perfecting the Texture:
Kneading for about 8–10 minutes is key. You're looking for that smooth, elastic feel that tells you the gluten is strong enough to hold those bubbles.
-
The Final Touch:
A light brush of olive oil on the edges right before it hits the oven. It gives you that beautiful brown color without making the dough feel greasy.
-
The Perfect Moment:
Pull them out as soon as the cheese is bubbly and golden. Let them breathe for just a minute before slicing so the crust stays crisp.
-
Preheating your pizza stone or steel for 30 minutes gives you that instant burst of heat for a restaurant-style bottom.
-
Give your dough balls a 15-minute rest after dividing; it stops them from shrinking back when you roll them out.
-
Be careful with the oil—too much can make the crust soggy, so just a light brush will do.
-
If you're using a stone, parchment paper is a lifesaver for transferring the pizza without a mess.
Pro Tips
Just take your time with it, and your kitchen will smell absolutely heavenly.

Better For You Treats
I appreciate that this crust uses complex carbohydrates and a bit of protein to keep things balanced. If you need to avoid gluten, you can simply swap the 1 1/2 cups all-purpose flour for a certified gluten-free blend.
Ways to Make it Your Own
You could swap half the flour for whole-wheat for a nuttier taste, or try infusing 2 tbsp of olive oil with garlic and rosemary. I mean, the possibilities are really endless once you have the base down.
Serving Suggestions
I love finishing mine with fresh basil and a drizzle of extra virgin olive oil. If you're feeling fancy, serve it with a bowl of roasted red pepper soup for a real comfort meal.
Frequently Asked Questions
→ What if my dough is too sticky to knead?
Don't panic! Just sprinkle a little more flour on your surface and your hands; it usually settles down after a few minutes of working it.
→ Can I make the dough ahead of time?
Oh, definitely. You can freeze the raw dough on parchment paper, then just thaw it in the fridge overnight whenever you're ready for pizza night.
→ My crust isn't getting crispy enough, why?
It's likely the heat. Make sure your oven is truly at 475°F and your stone is piping hot before you slide the pizza in.
Nutrition Facts
per serving
420
Calories
18g
Protein
65g
Carbs
7g
Fat
Taste Profile
A balanced, bakery-style tang with a savory, salty finish.
Ingredient Substitutions
Don't have an ingredient? Try these alternatives
Will result in a slightly chewier crust due to higher protein.
A neutral-tasting alternative with a similar smoke point.
Recipe Variations
Try these delicious twists on the original
Whole‑Wheat Sourdough Discard Pizza Crust
Swap half the all‑purpose flour for whole‑wheat flour to add fiber and a nutty flavor, though the dough will be slightly denser.
Herb‑Infused Olive Oil Pizza Crust
Infuse 2 tbsp of olive oil with fresh rosemary, thyme, and crushed garlic before adding it to the dough for a fragrant, herby profile.
Common Mistakes to Avoid
Learn from others' mistakes for perfect results
- Skipping the gluten rest, which causes the dough to shrink when rolling.
- Over-oiling the crust, which can lead to a soggy bottom.
- Putting the pizza in a cold oven instead of preheating the stone.
Meal Prep & Storage
Make Ahead Tips
You can freeze the raw dough on a parchment-lined sheet, then move it to a freezer bag. Just thaw it in the fridge overnight before baking.
Leftover Ideas
Store the baked crust for up to 2 days in a sealed container; reheat it in a 350°F oven for a few minutes to bring back the crunch.
Perfect Pairings
Serve this with...
Cooking Timeline
Mixing and kneading the dough
Bulk fermentation at room temperature
Dividing, shaping, and resting the dough
Oven preheating with pizza stone
Rolling, topping, and baking
Sourdough Discard Pizza Crust Recipe
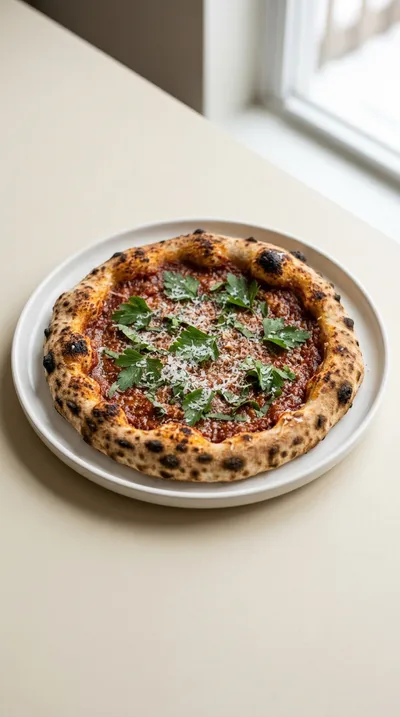
Enjoy a crust that crackles with a bakery-style tang, balancing a crisp edge with a chewy center. This sourdough discard pizza crust turns simple pantry staples into a gourmet experience for the whole family.
Timing
Prep Time
15 Minutes
Cook Time
15 Minutes
Total Time
45 Minutes
Recipe Details
Ingredients
Main Ingredients
-
01
1 cup sourdough discard (active, fed, and at room temperature)
-
02
1 1/2 cups all‑purpose flour (plus extra for dusting)
-
03
1/2 cup warm water (110°F)
-
04
1 tsp salt
-
05
1 tbsp olive oil (plus extra for greasing)
Instructions
Start by whisking together your 1 cup sourdough discard, that 1/2 cup warm water (110°F), and 1 tablespoon olive oil in a large bowl. Honestly, just stir it until it's all smooth and well combined—nothing fancy here.
Sift the 1 1/2 cups all‑purpose flour and sprinkle it gently over the wet ingredients, then add your 1 tsp salt. Use a wooden spoon or a dough scraper to stir it all together until a shaggy dough forms. Just keep incorporating the flour as you go.
Turn that dough onto a floured surface. Now, the real work starts—knead it for about 8–10 minutes. You're looking for it to become smooth, elastic, and just a little bit tacky to the touch.
Pop the dough into a lightly oiled bowl and cover it with plastic wrap or a damp towel. Let it bulk ferment at room temperature for 1 hour. Well, if you've got the patience, you can leave it up to 3 hours for a deeper flavor, but an hour does the trick.
After it's fermented, give the dough a good punch to release all that built-up gas. Divide it into 2 equal portions and shape each one into a tight little ball.
Cover those dough balls with a damp cloth and let them rest for 15 minutes. This is important, it lets the gluten relax so the dough doesn't fight you.
While the dough rests, preheat your oven to 475°F (245°C) with your pizza stone or steel inside for at least 30 minutes. We want it super hot for that perfect crust.
On a lightly floured surface, roll or press each dough ball into a 12‑inch circle. Transfer them carefully to a parchment‑lined baking sheet or right onto that pre‑heated stone.
Brush the crust lightly with olive oil, add your favorite sauce and toppings, and bake for 12–15 minutes. You'll know it's done when the crust is golden brown and the cheese is bubbly and beautiful.
Notes & Tips
-
1
The preheating process is the secret to that restaurant-style bottom.
-
2
Don't skip the 15-minute rest after dividing the dough.
-
3
A light touch with the olive oil prevents the crust from getting soggy.
 Snacks, Appetizers & Fun Bites
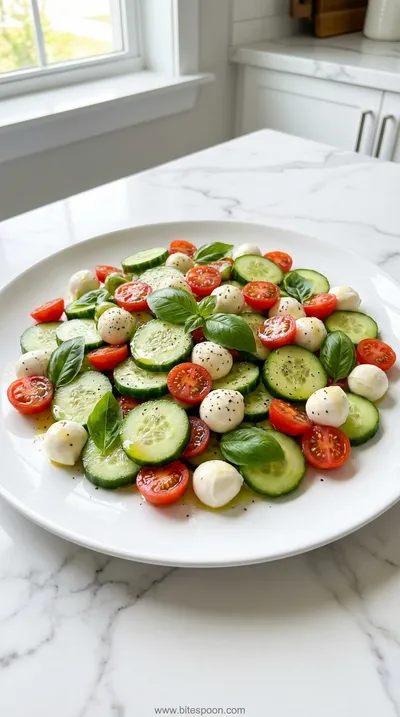
Quick Cucumber Mozzarella Salad
A quick, crisp cucumber and mozzarella salad with a hint of sweet vinaigrette.
Tools You'll Need
-
Large mixing bowl for combining ingredients
-
Wooden spoon or dough scraper for mixing shaggy dough
-
Floured surface or countertop for kneading
-
Lightly oiled bowl for fermenting
-
Plastic wrap or damp towel to cover dough
-
Pizza stone or baking steel for high-heat baking
-
Oven set to high heat
-
Rolling pin (optional) for shaping
-
Parchment paper to prevent sticking
-
Pizza cutter for serving
Must-Know Tips
-
Preheating a stone, Use a pizza stone or steel to create an instant burst of heat for a crisp bottom.
-
The final rest, Letting the dough rest after dividing reduces shrinking during baking.
-
Oil moderation, Brush the exterior lightly; too much oil makes the crust soggy.
Professional Secrets
-
The high-heat environment of 475°F mimics a professional pizza oven for a better rise.
-
Bulk fermentation for up to 3 hours deepens the characteristic sourdough tang.
-
Kneading for a full 10 minutes ensures the elastic structure needed for a 12-inch stretch.
What readers are saying
Community reviews from home cooks like you
Can't believe how simple this was. I really liked how the 1 cup sourdough discard (active, fed, and at room temperature) and 1 1/2 cups all‑purpose flour (plus extra for dusting) came together. Perfect as written.
This exceeded my expectations. I really liked how the 1 cup sourdough discard (active, fed, and at room temperature) and 1 1/2 cups all‑purpose flour (plus extra for dusting) came together. Perfect as written.
The flavors were spot on. I really liked how the 1 cup sourdough discard (active, fed, and at room temperature) and 1 1/2 cups all‑purpose flour (plus extra for dusting) came together. Already shared it with a friend.
The flavors were spot on. I really liked how the 1 cup sourdough discard (active, fed, and at room temperature) and 1 1/2 cups all‑purpose flour (plus extra for dusting) came together. Already shared it with a friend.
This was a hit with my family. I really liked how the 1 cup sourdough discard (active, fed, and at room temperature) and 1 1/2 cups all‑purpose flour (plus extra for dusting) came together. My oven needed an extra 5 minutes. Great addition to my recipe rotation.
It was okay, with a few tweaks. The temperature) flavor was nice, but next time i'll double the sauce. I might try it again with some adjustments.
Absolutely loved this recipe! I really liked how the 1 cup sourdough discard (active, fed, and at room temperature) and 1 1/2 cups all‑purpose flour (plus extra for dusting) came together. Thanks for sharing this one!
It was okay, with a few tweaks. The temperature) flavor was nice, but it took slightly longer than the recipe said. I might try it again with some adjustments.
Decent result for the effort. The temperature) flavor was nice, but i found it a bit sweet for my taste. I might try it again with some adjustments.

Recipe by
Sofia RiveraExploring the world through food 🌍🍲 Rich flavors, exciting dishes, and endless culinary inspiration ✨
Get Delicious Recipes Weekly
Join 25,000+ home cooks getting our best recipes straight to their inbox.
Free forever • No spam • Unsubscribe anytime