
No‑bake cookies emerged during wartime rationing, when ovens were a luxury and sugar was scarce. Households turned to stovetop methods, mixing cocoa, butter, and sugar into a quick confection that could be set on parchment. This humble origin gave rise to countless variations, each keeping the spirit of simplicity and comfort alive.
Why You'll Love It
-
- No oven needed, perfect for hot days
-
- Ready in under ten minutes
-
- Uses pantry staples you already have
-
- Soft, chewy texture that melts in your mouth
"These cookies taste like a warm memory; the texture is just perfect – chewy and sweet without any fuss."
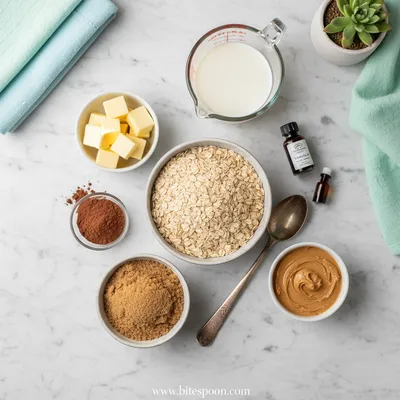
Essential Ingredient Guide
- Butter: Choose unsalted butter; it gives a rich mouthfeel and helps bind the cookie.
- Brown Sugar: Adds deep caramel notes; pack it tightly for even sweetness.
- Oats: Provides gentle chew and a rustic texture.
- Cocoa Powder: Use Dutch‑process for a smoother, richer chocolate flavor.
- Vanilla Extract: A splash brightens the chocolate and adds warmth.
- Salt: A pinch balances the sweetness and heightens flavor.
Complete Cooking Process
-
Ingredient Readiness:
Measure and set out butter, sugar, oats, cocoa, and vanilla so you can add them quickly.
-
Flavor Development:
Melt butter with sugar and cocoa over low heat, letting the aroma build.
-
Texture Control:
Stir in oats and let the mixture cool just enough to handle without becoming soggy.
-
Finishing Touches:
Spoon onto parchment, press lightly, and let the cookies set.
-
Serving Timing:
Serve after 5 minutes of cooling for the perfect soft bite.
-
Use room‑temperature butter for smooth melting
-
Don’t over‑cook the mixture; a gentle simmer is enough
-
Let cookies rest on parchment for a minute before moving
-
Store in an airtight jar to keep chewiness
Pro Tips
Well, these little tricks keep the cookies from getting too hard or dry. I find that a short rest on the counter helps the flavors settle, and the texture stays just right for days.
Ugh, if you forget to let them cool a bit, they can be fragile when you lift the parchment. So patience, even a minute, makes a big difference.
The essence of the dish:
A blend of buttery richness, deep cocoa, and hearty oats creates a nostalgic bite that feels both classic and modern.
A fun fact or historical angle:
During World War II, families often made no‑bake cookies because gas was rationed; they relied on stovetop heat and simple ingredients.
Flavor or sensory focus:
You’ll notice the comforting aroma of melted butter and chocolate, the slight crunch of oats, and a lingering sweet‑caramel finish.
You Must Know
-
Keep heat low to avoid burning the cocoa
-
Stir constantly for an even glaze
-
Cool slightly before slicing for clean edges
Frequently Asked Questions
→ Can I use honey instead of sugar?
Yes, honey works but it will add a lighter flavor and a softer texture; you may need slightly less honey than sugar.
→ How long do the cookies keep?
Store them in an airtight container at room temperature for up to a week; they stay soft and chewy.
→ Can I add nuts or dried fruit?
Absolutely – stir in chopped walnuts, almonds, or raisins after the mixture has cooled a bit.
→ Do I need to refrigerate them?
No, refrigeration isn’t necessary unless you prefer a firmer texture; a cool pantry works fine.
→ What if the mixture is too thin?
Let it simmer a minute longer; it will thicken as the sugar dissolves fully.
→ Can I make them gluten‑free?
Swap the oats for certified gluten‑free oats or use a blend of almond flour and coconut flakes.
Nutrition Facts
per serving
190
Calories
2g
Protein
28g
Carbs
8g
Fat
Taste Profile
A comforting sweet‑chocolate flavor with a buttery richness.
Ingredient Substitutions
Don't have an ingredient? Try these alternatives
Margarine works but may affect the richness slightly.
Provides a subtle caramel note; use a little less for the same sweetness.
Recipe Variations
Try these delicious twists on the original
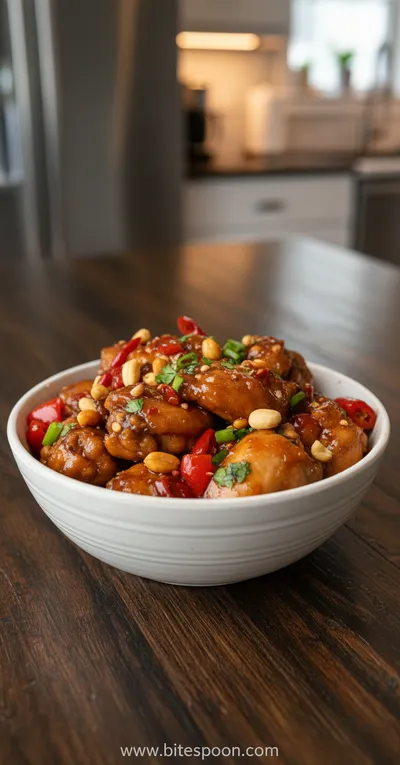
Spicy Version
Add a pinch of cayenne and use chocolate peanut butter for a warm kick.
Mediterranean Style
Stir in chopped dried apricots, toasted almonds, and a drizzle of honey; serve with a side of fresh figs.
Common Mistakes to Avoid
Learn from others' mistakes for perfect results
- Cooking the mixture on high heat, which burns the cocoa.
- Adding oats before the glaze thickens, leading to soggy cookies.
- Skipping the cooling pause, resulting in fragile cookies.
Meal Prep & Storage
Make Ahead Tips
You can whisk the butter, sugar, and cocoa together and store it in the fridge for up to 2 days; reheat gently before adding oats.
Leftover Ideas
Reheat gently in a skillet over low heat, or enjoy at room temperature; they stay soft.
Perfect Pairings
Serve this with...
Cooking Timeline
Melt butter and combine sugar, milk, and cocoa in a saucepan.
Stir continuously until the mixture bubbles and thickens.
Remove from heat, add vanilla, salt, and oats; mix well.
Spoon onto parchment, let set, and serve.
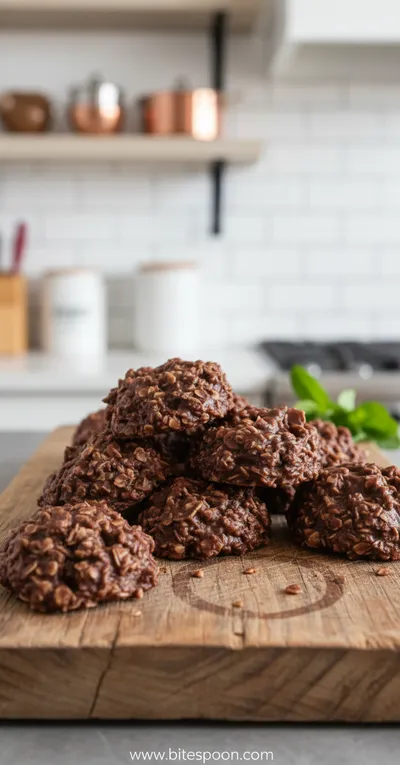
Vintage No-Bake Cookies
Enjoy sweet, chewy vintage no-bake cookies ready in minutes without heating the oven. They bring a nostalgic flavor and a soft, comforting texture that feels like a gentle hug from the past.
Timing
Prep Time
10 Minutes
Cook Time
5 Minutes
Total Time
15 Minutes
Recipe Details
Ingredients
Main Ingredients
-
01
1/2 cup unsalted butter
-
02
1 cup brown sugar, packed
-
03
1/2 cup milk
-
04
1/3 cup unsweetened cocoa powder
-
05
2 cups quick‑cooking oats
-
06
1 tsp vanilla extract
-
07
1/4 tsp salt
Instructions
In a medium saucepan, melt the butter over low heat, then add brown sugar, milk, and cocoa powder.
Stir constantly until the mixture begins to bubble and thickens, about 3‑4 minutes.
Remove from heat and stir in vanilla, salt, and oats until fully coated.
Drop spoonfuls onto parchment paper; let cool for 5 minutes. For a twist, try the keto cookies version.
Notes & Tips
-
1
If the mixture seems too runny, let it sit a minute; it will thicken.
-
2
For extra chew, press the cookies gently with the back of a spoon while warm.
-
3
Check out cookie dough bars for a vegan spin.
Tools You'll Need
-
Medium saucepan
-
Wooden spoon
-
Measuring cups and spoons
-
Parchment paper
-
Spoon or small cookie scoop
Must-Know Tips
-
Don’t let the mixture boil vigorously; it can scorch the cocoa.
-
Use quick‑cooking oats for a softer bite.
-
Taste the glaze before adding oats; adjust sweetness if needed.
Professional Secrets
-
Room‑temperature butter melts evenly, preventing grainy texture.
-
Low heat preserves the cocoa’s aroma without bitterness.
-
Letting the cookies rest on parchment keeps them from sticking.

Recipe by
Mia CollinsSmall bites, big happiness 😋✨ Fun snacks, tasty treats, and flavor in every bite 🧆
Get Delicious Recipes Weekly
Join 25,000+ home cooks getting our best recipes straight to their inbox.
Free forever • No spam • Unsubscribe anytime